
티스토리 뷰
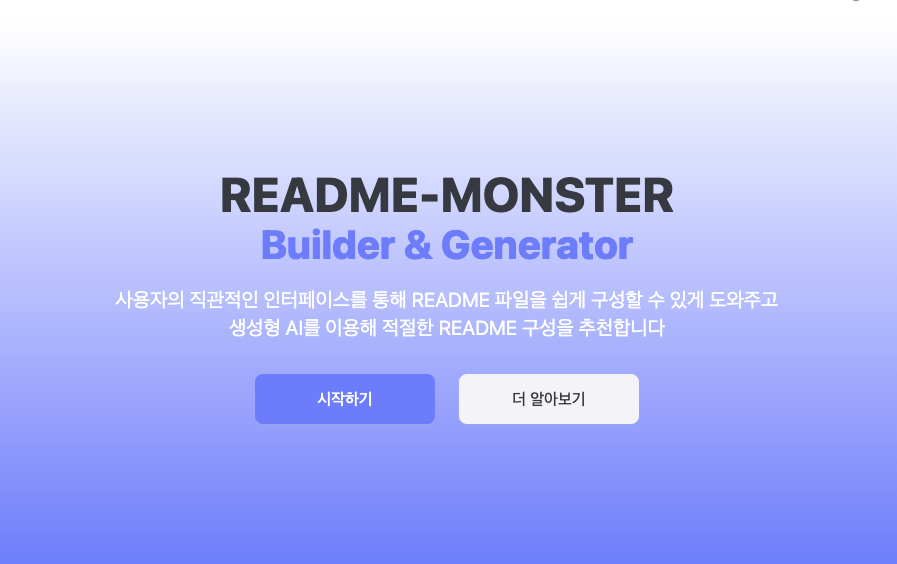
리드미 몬스터 서비스가 궁금하다면!
서비스 둘러보기 : https://www.readme-monster.com/
깃허브 둘러보기 : https://github.com/Readme-Monster/readme-monster/wiki
🏃🏻♂️ 시작하기
사용자들이 자유롭게 피드백을 남길 수 있는 공간이 필요했습니다. 익명성을 보장하여 사용자의 직접적인 피드백을 듣기 위함입니다. 아래는 익명게시판 완성된 페이지 이미지 입니다.
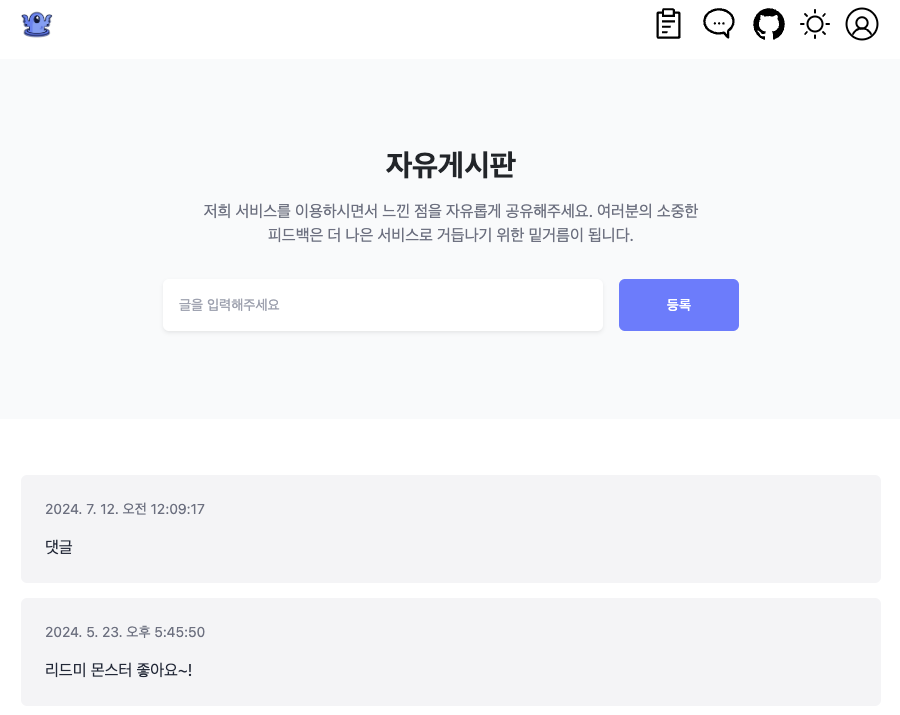
사용자는 게시판에 댓글을 남길 수 있으며, 댓글 목록은 실시간으로 업데이트됩니다. Firebase Firestore를 사용하여 데이터를 저장하고 불러옵니다.
1. Import 및 초기 설정
import React, { useState, useEffect } from "react";
import { collection, addDoc, query, onSnapshot, Timestamp } from "firebase/firestore";
import { toast } from "react-toastify";
import { db } from "../../firebaseApp";
import { useRouter } from "../routing";
React, Firestore, toast 메시지, 라우팅 등의 필요한 모듈들을 불러옵니다.
Firestore 데이터베이스 인스턴스 db를 가져옵니다.
2. Interface 및 컴포넌트 초기 상태 설정
interface Comment {
  comment: string;
  registrationDate: Timestamp;
}

const BoardPage = () => {
  const [inputText, setInputText] = useState("");
  const [comments, setComments] = useState<Comment[]>([]);
  const router = useRouter();
댓글 데이터 구조를 정의하는 Comment 인터페이스를 선언합니다.
inputText는 사용자가 입력하는 텍스트를 저장하는 상태입니다.
comments는 Firestore에서 불러온 댓글 목록을 저장하는 상태입니다.
router는 페이지 이동을 위한 라우터입니다.
3. Firestore에서 댓글 목록 불러오기 (useEffect 훅)
  useEffect(() => {
    const q = query(collection(db, "board"));

    const unsubscribe = onSnapshot(q, (querySnapshot) => {
      const newComments: Comment[] = [];
      querySnapshot.forEach((doc) => {
        const data = doc.data() as Comment;
        newComments.push(data);
      });
      newComments.sort((a, b) => b.registrationDate.seconds - a.registrationDate.seconds);
      setComments(newComments);
    }, (error) => {
      toast.error("댓글을 불러오는데 실패했습니다.");
      console.error("Error fetching comments:", error);
    });

    return () => unsubscribe();
  }, []);
useEffect 훅을 사용하여 컴포넌트가 마운트될 때 Firestore의 "board" 컬렉션을 구독합니다.
query와 onSnapshot을 사용하여 실시간으로 데이터 변경을 감지하고, 변경된 데이터를 comments 상태에 업데이트합니다.
데이터가 성공적으로 불러와지면 comments 상태를 업데이트하고, 에러가 발생하면 에러 메시지를 표시합니다.
return에서 구독을 해제하는 unsubscribe 함수를 반환합니다.
4. 댓글 등록 함수
  const handleButtonClick = async () => {
    if (inputText.trim() !== "") {
      try {
        await addDoc(collection(db, "board"), {
          registrationDate: new Date(),
          comment: inputText
        });
        toast.success("댓글이 등록되었습니다");
      } catch (error: any) {
        console.log(error);
        toast.error("댓글을 등록하는데 실패했습니다.");
      }
    } else {
      toast.warn("댓글을 입력해주세요.");
    }
  };
handleButtonClick 함수는 사용자가 댓글 등록 버튼을 클릭했을 때 호출됩니다.
inputText가 공백이 아니면 Firestore의 "board" 컬렉션에 새로운 댓글을 추가합니다.
댓글이 성공적으로 추가되면 성공 메시지를 표시하고, 에러가 발생하면 에러 메시지를 표시합니다.
inputText가 공백이면 경고 메시지를 표시합니다.
5. UI 렌더링
  return (
    <div className="mx-auto max-w-screen-xl" data-testid="board">
      <section className="bg-gray-50 dark:bg-gray-900 px-4 py-16 sm:px-6 lg:px-8">
        <div className="p-8 md:p-12 lg:px-16 lg:py-24">
          <div className="mx-auto max-w-lg text-center">
            <h1 className="text-center text-2xl dark:text-textWhite font-bold sm:text-3xl">자유게시판</h1>
            <p className="text-gray-500 sm:mt-4">
              저희 서비스를 이용하시면서 느낀 점을 자유롭게 공유해주세요. 여러분의 소중한 피드백은 더 나은 서비스로 거듭나기 위한 밑거름이 됩니다.
            </p>
          </div>

          <div className="mx-auto mt-8 max-w-xl">
            <div className="sm:flex sm:gap-4">
              <div className="sm:flex-1">
                <input
                  type="text"
                  placeholder="글을 입력해주세요"
                  value={inputText}
                  onChange={(e) => setInputText(e.target.value)}
                  className="w-full rounded-md border-gray-200 bg-white p-3 text-gray-700 shadow-sm text-sm transition focus:border-white focus:outline-none focus:ring focus:ring-yellow-400"
                />
              </div>
              <button
                onClick={handleButtonClick}
                className="group flex w-full items-center justify-center gap-2 rounded-md hover:bg-textBlueHover bg-textBlue dark:bg-darkSecondary px-5 py-3 text-sm font-medium text-white transition focus:outline-none focus:ring focus:ring-yellow-400 sm:mt-0 sm:w-auto"
              >
                <span className="text-sm font-medium">등록</span>
              </button>
            </div>
          </div>
        </div>
      </section>
      <div className="px-4 py-16 sm:px-6 lg:px-8">
        {comments.map((item, index) => (
          <div key={index} className="bg-gray-100 rounded p-4 my-2">
            <p className="text-gray-500 text-sm">
              {new Date(item.registrationDate.seconds * 1000).toLocaleString()}
            </p>
            <p className="text-gray-800">{item.comment}</p>
          </div>
        ))}
      </div>
    </div>
  );
};

export default BoardPage;
댓글 입력 섹션
사용자가 댓글을 입력할 수 있는 텍스트 입력 필드와 등록 버튼이 있습니다.
inputText 상태는 사용자의 입력을 반영합니다.
댓글을 입력하고 등록 버튼을 클릭하면 handleButtonClick 함수가 호출됩니다.
댓글 목록 표시
Firestore에서 불러온 댓글 목록을 comments 상태에서 가져와 렌더링합니다.
comments 배열을 순회하며 각 댓글을 렌더링합니다.
댓글의 등록 날짜와 내용을 표시합니다.
이 코드는 사용자가 자유롭게 댓글을 작성하고, 작성된 댓글을 실시간으로 볼 수 있는 게시판 기능을 제공합니다.
'회고' 카테고리의 다른 글
| React 환경에서 NICEPAY 결제 모듈 연동하기 (0) | 2024.11.17 |
|---|---|
| Storybook을 활용하여 디자인 시스템 구축하기(React + Yarn berry) (8) | 2024.10.22 |
| 회사 홈페이지 리뉴얼 회고 (10) | 2024.09.10 |
| 리액트 포털(React Portal)을 활용한 버튼 구현하기 (0) | 2024.09.10 |
| 항해 플러스 프론트엔드 후기 (3) | 2024.05.18 |
- Total
- Today
- Yesterday
- 레포지토리패턴
- Vue.js
- 항해플러스후기
- props
- Ai
- 결제기능
- 알고리즘
- vue.js3
- 개발자
- 디자인시스템
- AgentTool
- 항해플러스프론트엔드
- 로그인 인증
- react
- http
- 항해솔직후기
- JWT토큰
- store.js
- 회고
- event종류
- 더미데이터
- focus와blur
- eventListner
- vite
- 2025회고
- React18v
- 그림으로 이해하는 시스템 설계
- 구름톤
- 프로덕트설계
- Repository pattern
| 일 | 월 | 화 | 수 | 목 | 금 | 토 |
|---|---|---|---|---|---|---|
| 1 | 2 | 3 | 4 | |||
| 5 | 6 | 7 | 8 | 9 | 10 | 11 |
| 12 | 13 | 14 | 15 | 16 | 17 | 18 |
| 19 | 20 | 21 | 22 | 23 | 24 | 25 |
| 26 | 27 | 28 | 29 | 30 | 31 |